Blogs

A Comprehensive Cleaning Guide for Your Coffee Grinder:
Your coffee grinder plays a crucial role in the quality of your brew. Over time, coffee oils, ground particles, and residue can accumulate inside the grinder, affecting its performance and the taste of your coffee. Regular cleaning ensures that your grinder runs smoothly, extends its lifespan, and preserves the freshness of your coffee grounds. Whether you own a manual or electric grinder, a clean grinder is essential for consistent and flavorful coffee. Here’s a step-by-step guide to help you clean your coffee grinder effectively.
Why Clean Your Coffee Grinder?
- Maintain Flavor: Old coffee oils and residues can spoil the taste of your coffee by making it bitter or rancid.
- Prevent Clogs: Coffee grounds and oils can accumulate, leading to jams and uneven grinding.
- Increase Longevity: Regular cleaning helps maintain the performance and lifespan of your grinder.
- Consistent Grind Quality: A clean grinder produces even grinds, ensuring a uniform extraction.
What You’ll Need:
- Soft brush or cleaning brush (often provided with the grinder)
- Microfiber cloth or soft towel
- Grinder cleaning pellets or uncooked rice (for blade grinders)
- Compressed air (optional)
- Small screwdriver (if needed to disassemble the grinder)
- A bowl or container to collect coffee grounds
Step-by-Step Guide to Cleaning Your Coffee Grinder:
1. Unplug and Disassemble the Grinder (For Electric Grinders)
Always start by unplugging the grinder to ensure safety. For electric grinders, remove the hopper and any detachable parts, including the burrs (if applicable). If your grinder has a removable burr set, you might need a small screwdriver to disassemble it.
2. Empty the Grinder of Coffee Grounds
Before cleaning, ensure the grinder is completely empty of coffee grounds. For manual grinders, simply tip the grinder over and empty out any leftover grounds. For electric grinders, you can use a soft brush to remove any grounds left in the hopper and the grinding chamber.
3. Clean the Hopper and Grinding Chamber
Use a microfiber cloth or soft towel to wipe down the hopper and grinding chamber, removing any loose coffee residue. For hard-to-reach areas, a small brush can help sweep out any stubborn grounds. If the hopper is removable, you can rinse it under warm water (but make sure it’s completely dry before reassembling).
4. Clean the Burrs (or Blades)
The burrs (or blades in blade grinders) are the most critical part of your grinder, as they do the actual grinding. Here’s how to clean them:
- For Burr Grinders: Use a small brush to gently clean the burrs. Make sure to brush away any stuck coffee particles in the teeth of the burrs. If your grinder allows for easy disassembly of the burr set, take it out carefully and wipe it down with a cloth or a soft brush.
- For Blade Grinders: Use a soft brush to clean the blades. Be cautious, as the blades can be sharp. You can also use a small amount of uncooked rice to clean the blades: simply grind the rice in the grinder as if it were coffee. The rice will absorb any leftover oils and break down into powder that you can easily remove.
5. Deep Cleaning with Grinder Cleaning Pellets (Optional)
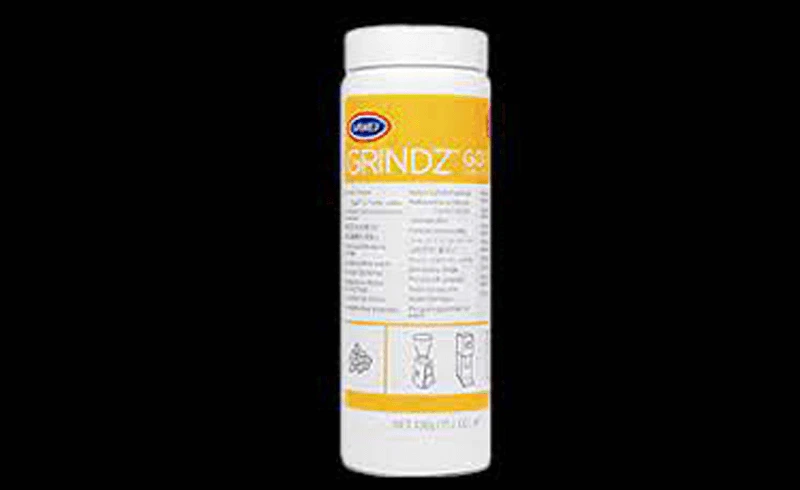
For a more thorough cleaning, you can use grinder cleaning pellets. These pellets are designed to remove coffee oils and debris from the grinder without damaging the mechanism. Simply run a small amount of cleaning pellets through your grinder as if you were grinding coffee beans. Follow the manufacturer’s instructions for the proper amount of pellets and duration of grinding.
6. Clean the Exterior
Don’t forget to wipe down the exterior of your grinder with a microfiber cloth. This will help remove dust, fingerprints, and any coffee spills or stains. If your grinder has a glass or metal body, you can use a damp cloth, but be sure not to get any water into the internal components.
7. Reassemble the Grinder
Once everything is clean and dry, carefully reassemble the grinder. If you’ve disassembled the burrs, ensure they’re securely in place before reattaching the hopper.
8. Run Some Coffee Grounds Through the Grinder
Once the grinder is reassembled, run a small amount of coffee beans through it to ensure everything is working smoothly. This also helps eliminate any remaining cleaning residue. Discard the first batch of grounds after cleaning.
Additional Cleaning Tips:
- Clean Regularly: For optimal performance, it’s essential to clean your grinder regularly. Manual grinders should be cleaned after every use, while electric grinders can be cleaned weekly or bi-weekly, depending on usage.
- Use Fresh Beans: Always use fresh coffee beans to minimize the buildup of coffee oils in your grinder.
- Store Properly: Keep your grinder in a dry place and avoid storing it in areas with excess humidity. This helps prevent rusting or damage to internal parts.
- Deep Clean Monthly: If you use your grinder frequently, consider doing a deeper clean using cleaning pellets or a rice grind once a month.
Conclusion
Regular cleaning of your coffee grinder is essential to ensure it continues to deliver fresh, high-quality coffee. By following this simple guide, you can maintain the performance of your grinder, prevent clogs, and keep your coffee tasting its best. Whether you have a manual or electric grinder, taking the time to clean it properly will reward you with consistent grinds and a more enjoyable coffee experience.


